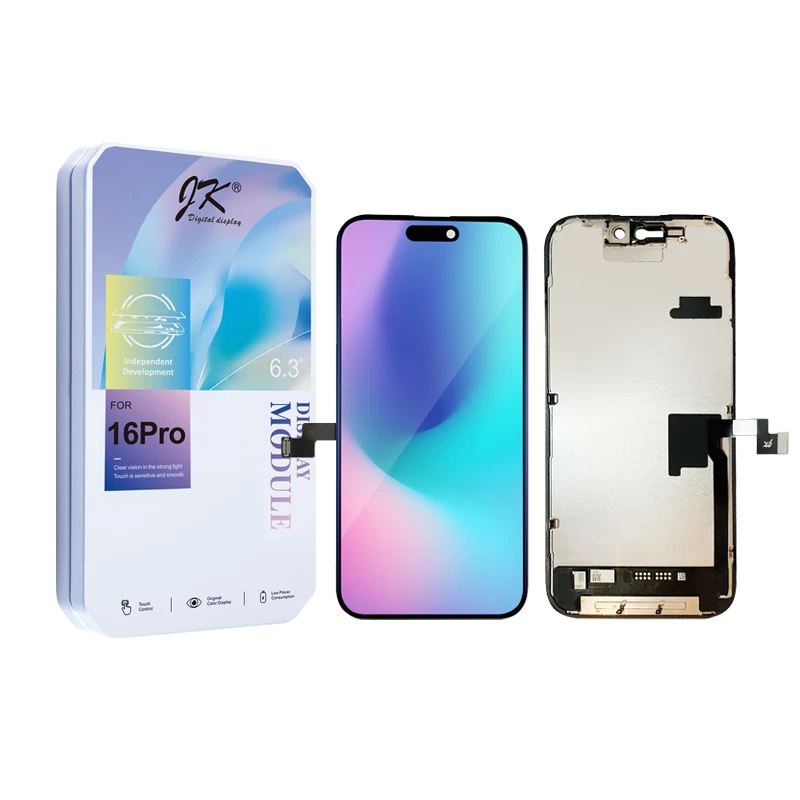

Universal iPhone Screw Guide And Anatomy Map

From our iPhone Diagnostics page. A bench reference for techs and DIYers.
🔩 Universal iPhone Screw Guide
iPhone screws aren't just holding the phone together—they are active parts of the device's electrical and wireless circuitry. Mixing them up is the number one cause of permanent motherboard damage (known as "long-screw damage") and broken features.
This universal guide breaks down the color coding we use on the bench.
(Note: Exact screw counts and structural locations vary by model. For precise blueprints, check our model-specific diagnostic pages!)
| Color | Screw Type | Where It's Used |
|---|---|---|
| 🟠 Orange Circle | Pentalobe (P2 / 0.8 mm) | Exterior Chassis Fasteners. Located on either side of the charging port. |
| 🟢 Green Circle | Tri-wing / Y000 Security Screws | Motherboard Mounts (Strictly 0.2 mm), charging port shields, and delicate flex brackets. |
| ⚫ Black Circle | Phillips #000 | Heavier Components & Audio, including the speaker, Taptic Engine mounts, and bottom microphones. |
| 🔵 Blue Circle | Grounding & Standoff Screws (Super Screws) | Layered Fasteners & Grounding Standoffs. These sit on top of one component to secure it while providing a threaded female top for a Tri-wing or Phillips screw to hold down an overlapping item. |
🟠 Orange Circle = Pentalobe (P2 / 0.8 mm)
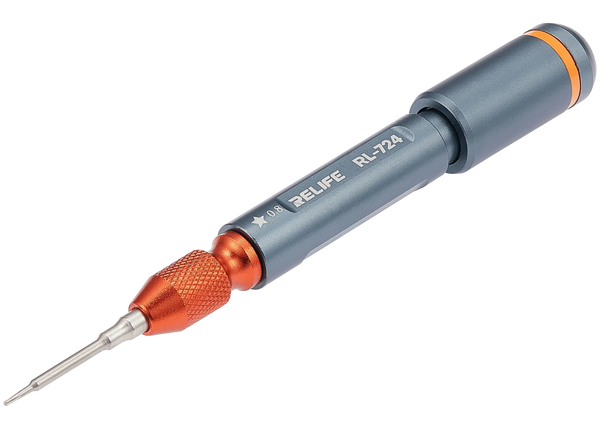
Exterior Chassis Fasteners. Located on either side of the charging port.
🟢 Green Circle = Tri-wing / Y000 Security Screws
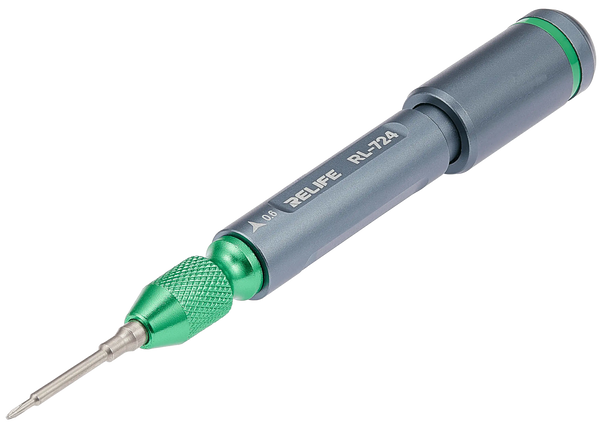
Motherboard Mounts (Strictly 0.2 mm), charging port shields, and delicate flex brackets.
⚫ Black Circle = Phillips #000
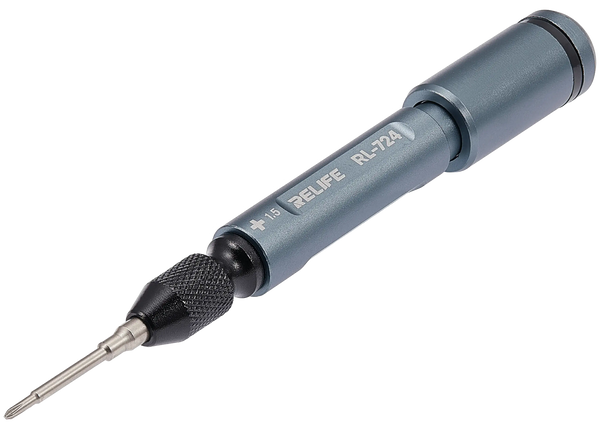
Heavier Components & Audio, including the speaker, Taptic Engine mounts, and bottom microphones.
🔵 Blue Circle = Grounding & Standoff Screws (Super Screws)
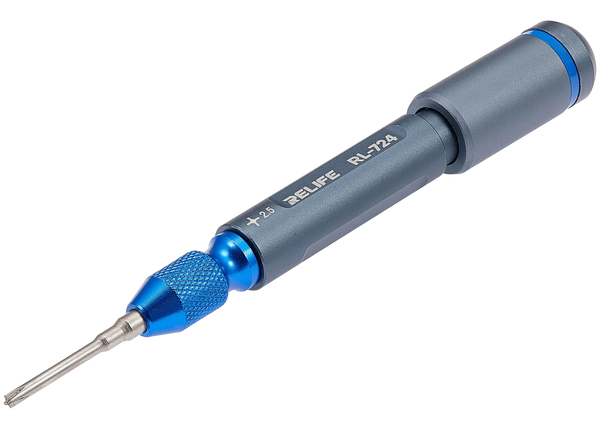
Layered Fasteners & Grounding Standoffs. These sit on top of one component to secure it while providing a threaded female top for a Tri-wing or Phillips screw to hold down an overlapping item.
📱 iPhone Anatomy: What To Expect
🧲 Magnetic Property Note
Unlike the specialized non-magnetic standoffs found in the upper chassis (used to protect the camera's OIS and compass), the 🔵 Cross Torque / Standoffs in the lower chassis are typically magnetic. While this makes them easier to extract with a magnetized driver, you must still map them meticulously to avoid swapping them with standard ⚫ Phillips screws.
🔼 Upper Chassis: The Sensor & Camera Suite (Top Half)
⚠️ Critical Motherboard Warning
The top of the phone is the most sensor-heavy area in the entire device. The motherboard screw mounts in this zone ONLY accept 0.2 mm Tri-wing (🟢) screws. Inserting any other size, length, or thread type will drill directly into the logic board layers beneath it, permanently destroying the device.
It is incredibly easy to accidentally run a long screw into a logic board trace or a delicate flex cable here, which can permanently disable core iOS features. Always use a segmented magnetic organizer mat to track your hardware.
The Sensors In This Zone
-
TrueDepth Camera Array: On iPhone 12 and newer models, the front-facing FaceTime camera, infrared camera, flood illuminator, and dot projector are structurally consolidated into a single unified physical module. (On iPhone 11 and older models, the FaceTime camera and TrueDepth Face ID components remain physically separate modules connected to the board via distinct ribbon cables.)
⚠️ Damage Warning: Never touch the exposed lenses of the dot projector or infrared camera. Tearing this flex cable during bracket removal will permanently disable Face ID because this module is cryptographically paired with the logic board. -
Ambient Light Sensor (ALS) & Proximity Sensor: Measure light levels to control auto-brightness and detect when the phone is held to your ear to turn off the screen during a call.Design Evolution: Older screen designs (iPhone 11 and prior) utilized 🟢 Tri-wing screws extensively along the screen frames. Newer screens removed most of these; iPhone 12 through 16 models secure the ALS module using 1-3 ⚫ Phillips screws, while iPhone 17 and later models have reverted to 1-2 🟢 Tri-wing screws.
⚠️ Damage Warning: Even with screws removed, these sensors are lightly adhered to the display bezel. Aggressive prying can easily rip the micro-soldered traces, permanently breaking auto-brightness and True Tone. -
Front-Facing FaceTime Camera: Captured alongside the sensor array.
⚠️ Damage Warning: Highly susceptible to airborne dust and fingerprint oils. Avoid wiping the lens with dry microfiber or harsh solvents, as they can scratch or strip the anti-reflective coating. -
Rear Camera Array: Non-Pro models feature a dual-lens (Wide and Ultra-Wide) setup. In contrast, Pro models feature a triple-lens array equipped with delicate, magnet-stabilized Optical Image Stabilization (OIS) coils.
⚠️ Damage Warning: The internal OIS magnets are incredibly fragile. Bringing highly magnetized heavy tools too close or dropping the module can shatter the mechanical stabilizers—leaving the camera permanently blurry or vibrating. Ensure you secure these brackets with the correct designated hardware (⚫ Phillips for standard brackets, 🟢 Tri-wing for Pro shields). -
The LiDAR Scanner: Exclusive to Pro models (12 Pro through 17 Pro), this sensor emits invisible laser pulses to map 3D depth. It assists with instant AR measuring and speeds up low-light camera autofocus by 6x for Night Mode portraits.
⚠️ Damage Warning: The optical emitter grid is highly sensitive to misalignment. Avoid applying direct downward pressure to the scanner module when reseating the rear camera bracket. -
Upper Microphone: Used for video recording, noise cancellation, and speakerphone calls.
⚠️ Damage Warning: Poking sharp tweezers or metal spudgers too deeply into the upper housing alignment slots can instantly puncture the delicate acoustic microphone membrane. -
Wi-Fi, Bluetooth & GPS Antennas: Highly delicate flex cables running along the top and upper-left edge of the frame.
🧲 Non-Magnetic Requirement: These antennas require strictly non-magnetic screws in the correct positions to function properly. Introducing magnetic hardware here causes electromagnetic interference that will severely degrade your Wi-Fi, Bluetooth, and GPS signals.
⚠️ Damage Warning: These ribbon cables are folded tightly against the chassis and are usually secured with non-magnetic 🟢 Tri-wing screws. A single slip of a tool can slice clean through them, permanently crippling wireless signal strength.
⚠️ The Screw Hazard
Many of the screws securing the upper camera and sensor connector brackets look identical to the naked eye but have microscopic length differences. Putting a screw that is even 0.2 mm too long into a 🔵 Standoff hole can drill straight through the logic board layers beneath it, permanently severing vital trace lines and instantly killing the phone. Never rush the reassembly of this zone.
🔋 The Center Core: Power & Wireless Fields (Middle)
The middle section of the iPhone is engineered to manage the flow of physical and wireless energy.
The Components In This Zone
-
The Logic Board & Ultra-Wideband (UWB) Chip: The brain of the phone. Most modern iPhones use a dual-layer "sandwich" board design. Built directly onto this board is the UWB Chip, which acts as a precision radar for inches-accurate tracking. Secured by strictly 0.2 mm 🟢 Tri-wing screws at the mounts and various 🔵 Standoffs.
⚠️ Damage Warning: Flexing the dual-layer board during removal will snap internal micro-solder joints, causing boot-looping or dead touch. As with the top half, driving a screw longer than 0.2 mm into a 🟢 Tri-wing mount will instantly kill the board. -
The Battery: A heavy lithium-ion cell secured with stretch-release adhesive pull tabs. Its connector shield is typically secured by 🟢 Tri-wing or ⚫ Phillips screws.
⚠️ Damage Warning: Slipping with a tool near the battery can puncture the lithium-ion cell, leading to dangerous thermal runaway and fire. Never use sharp metal pry tools along the edges of the battery. -
Wireless Charging & NFC Antenna Loop: Located directly behind (underneath) the battery, adhered to the back glass. The outer ring transfers wireless power, while the small embedded NFC loop broadcasts the 13.56 MHz frequency.
⚠️ Damage Warning: Tearing the delicate flex cable connecting this loop to the motherboard will permanently disable Apple Pay, Tap to Pay, and wireless charging. -
Physical SIM Tray vs. eSIM: Located on the side of the chassis. International models feature a physical SIM reader and tray, whose shield is usually secured by 🟢 Tri-wing screws.
⚠️ Damage Warning: If you mix up the screws securing the shield over the SIM reader, you will crush the motherboard traces beneath them, resulting in a permanent "No SIM" error. -
5G mmWave Antenna Window (US Models Only): High-frequency 5G mmWave signals cannot pass through metal. On US models, a small, oval-shaped plastic window is carved into the metal frame, housing a dedicated antenna flex secured by 🟢 Tri-wing screws.
🧲 Non-Magnetic Requirement: The screws securing this antenna bracket are strictly non-magnetic. Introducing magnetic hardware here will cause radio frequency interference, severely degrading 5G speeds.
⚠️ Damage Warning: Slicing the flex cable behind this window with a pry tool will permanently disable high-speed mmWave connectivity. -
Action Button (iPhone 15 Pro, 16 & 17 series): Located on the upper-left rail, this programmable solid-state button replaced the old mechanical toggle switch. Secured by ⚫ Phillips or 🟢 Tri-wing screws depending on the model year.
⚠️ Damage Warning: The micro-switch and its attached flex cable are incredibly fragile. Prying carelessly during frame swaps will tear the ribbon and break the button's functionality.
🔽 Lower Chassis: Power, Audio & Haptics (Bottom Half)
The bottom of the phone is a high-vibration area that handles physical user feedback, sound output, and physical plug-in power.
The Components In This Zone
-
Exterior Pentalobe Fasteners: The two anchor screws at the very bottom of the frame. Historically used exclusively to secure the screen assembly. Model Note: On the iPhone 14, 14 Plus, 15 series, 16 series, and 17 series, these screws are dual-purpose and are also routed to hold the removable rear glass panel.
📏 Length & Compatibility Warning: While the left and right screws on a single phone are the same length, Pentalobe lengths and thread pitches vary across different iPhone models. Never mix Pentalobe screws from a parts bin; forcing an incorrect screw will strip the internal frame threads.
⚠️ Damage Warning: Failing to use a dedicated, high-quality 🟠 Pentalobe driver will strip the delicate, shallow star-shaped heads. Stripped bottom screws are nearly impossible to extract and usually require precision drilling, which poses a massive risk of shattering the screen or back glass or scratch the metal finish. -
Taptic Engine & Solid-State Home Buttons: The high-speed linear actuator motor that generates haptic vibrations. The motor itself typically mounts to the frame using exactly three screw points, secured by a combination of ⚫ Phillips screws and 🔵 Cross Torque / Standoffs (which then provide a threaded top for a secondary screw to hold down an overlapping bracket).Model Note: On the iPhone 7, 8, and SE (2nd & 3rd Gen), the Home Button does not actually click physically. It is a solid piece of glass; when pressed, the Taptic Engine fires instantly to fake a mechanical "click" sensation.
⚠️ Damage Warning: Failing to properly torque these three screws will cause the engine to rattle violently against the frame, eventually destroying the motor. -
Camera Control Button (iPhone 16 & 17 series): Embedded on the lower-right rail, this is a flush sapphire-glass button. It combines a mechanical click switch, a force sensor for light presses, and a capacitive swipe sensor to let you slide your finger to zoom or change camera lenses.
⚠️ Damage Warning: The capacitive and force sensor flex is extremely delicate. Using excessive force or heat near this rail during battery removal can melt or sever the flex. -
Main Loudspeaker Chamber & Bottom Microphones: The acoustic box providing audio output, alongside high-sensitivity mics used for voice calls. Usually secured by ⚫ Phillips screws.
⚠️ Damage Warning: Inserting tools too deeply into the bottom speaker or microphone grilles from the outside of the phone will permanently puncture the waterproof acoustic mesh and destroy the microphone membrane. -
Charging Port Assembly: The physical USB-C (iPhone 15 and later) or Lightning (iPhone 14 and earlier) dock connector flex cable. Often secured by a mix of 🟢 Tri-wing and ⚫ Phillips screws.
⚠️ Damage Warning: Ripping this massive flex cable during removal will kill charging, bottom microphones, and loudspeaker functionality all at once.
Need it done right the first time? Book An Appointment or call or text (720) 413-8150. Franchitti's Fix, 4515 Texas St, San Diego.


